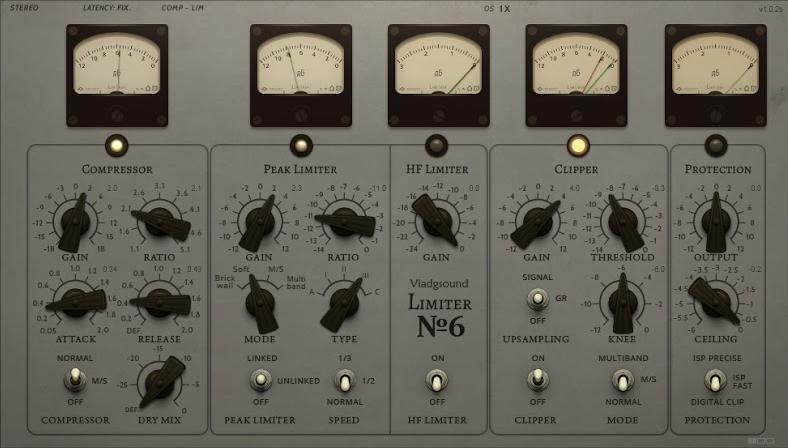
1 – Create a backup of the plugin’s .dll by copying it outside your vst plugin folder.
2 – Download Resource Hacker here: http://www.angusj.com/resourcehacker. I prefer the portable version, no installation needed.
3 – Open Resource Hacker, then open (or drag) the plugin’s dll file.
4 – Go to “Action”, select “Add from a resource file (.res,.dll,*.exe)”
5 – Go to the downloaded skin folder, and select the .res file.
6 – On “Import Resources…” window, under “Duplicates”, choose “Overwrite”.
7 – Next, tick “PNG” or “Bitmap” checkbox.
8 – Click “Import”.
- The new images are now imported, indicated by the orange-red star icon, replacing the default ones, indicated by a yellow star icon.
- Noted that some plugins might have unused images, if you see some of the star icons remain yellow, that means these images doesn’t need to get replaced.
- You can check the images on the orange star icon to make sure they’ve changed.
9 – Now click “Save As” and save it overwriting the existing dll. Why not just choose “Save” ? if you choose “Save”, Resource Hacker will automatically create a new dll file as a backup, which you don’t need if you already done it on the first step.
10 – Open your DAW, go to the plugin and check the result.


